I Automated My Coffee Maker — Here Are 5 Setup Tricks That Work
I’ve been a coffee snob for years — single-origin beans, a burr grinder, the whole ritual. But last winter, I hit a wall: my 6 AM brain couldn’t reliably measure water, grind beans, and press “brew” without spilling grounds or forgetting to fill the tank. After three mornings of bitter, lukewarm coffee because I’d rushed the prep, I decided to automate. I dug out a $12 smart plug, a $25 wifi outlet, and spent a weekend tinkering. The result? Consistently hot, fresh coffee that starts brewing before my alarm even goes off. Here’s the kicker: you don’t need a $500 “smart” coffee maker. You just need five setup tricks I discovered through trial, error, and one very frustrating morning of Wi-Fi dropout. Let me walk you through them.
Trick #1: The Physical Hack That Saved My Countertop (And Schedule)
The first thing I learned: not all coffee makers work with smart plugs. Most drip machines today use an electronic switch — a soft button that turns the machine on or off via a microcontroller. When power is cut (like when a smart plug turns off), these machines forget their state and stay off when power returns. That’s a problem if you want a schedule. The fix? Use a coffee maker with a mechanical switch — a physical toggle or push-button that stays in the “on” position. When the smart plug delivers power, the machine starts brewing immediately. I tested this with an old Mr. Coffee model from a thrift store (about $8) and it worked perfectly. The catch: you must leave the switch in the “on” position, which means the machine only runs when the plug is active. No more accidental brew cycles when you’re out of town. For my own setup, I bought a new Cuisinart DCC-3200, which has a mechanical power switch on the back. I plugged it into a Kasa smart plug rated for 15 amps (sufficient for the 1,200-watt machine). I set the plug to turn on at 6:15 AM daily. The first morning, I heard the water heating from my bedroom — a sound I now associate with waking up. What went wrong? I initially set the plug to turn off too soon. The machine needs about 10 minutes to brew a full pot, so I adjusted the schedule to stay on for 15 minutes. If you try this, check your machine’s brew time and add a 5-minute buffer. One caveat: never use a smart plug with a machine that has an electronic switch — it can damage the circuitry or cause a fire hazard. If you’re unsure, look for a model with a physical rocker switch.
Trick #2: Water Prep – The Hidden Variable Most People Miss
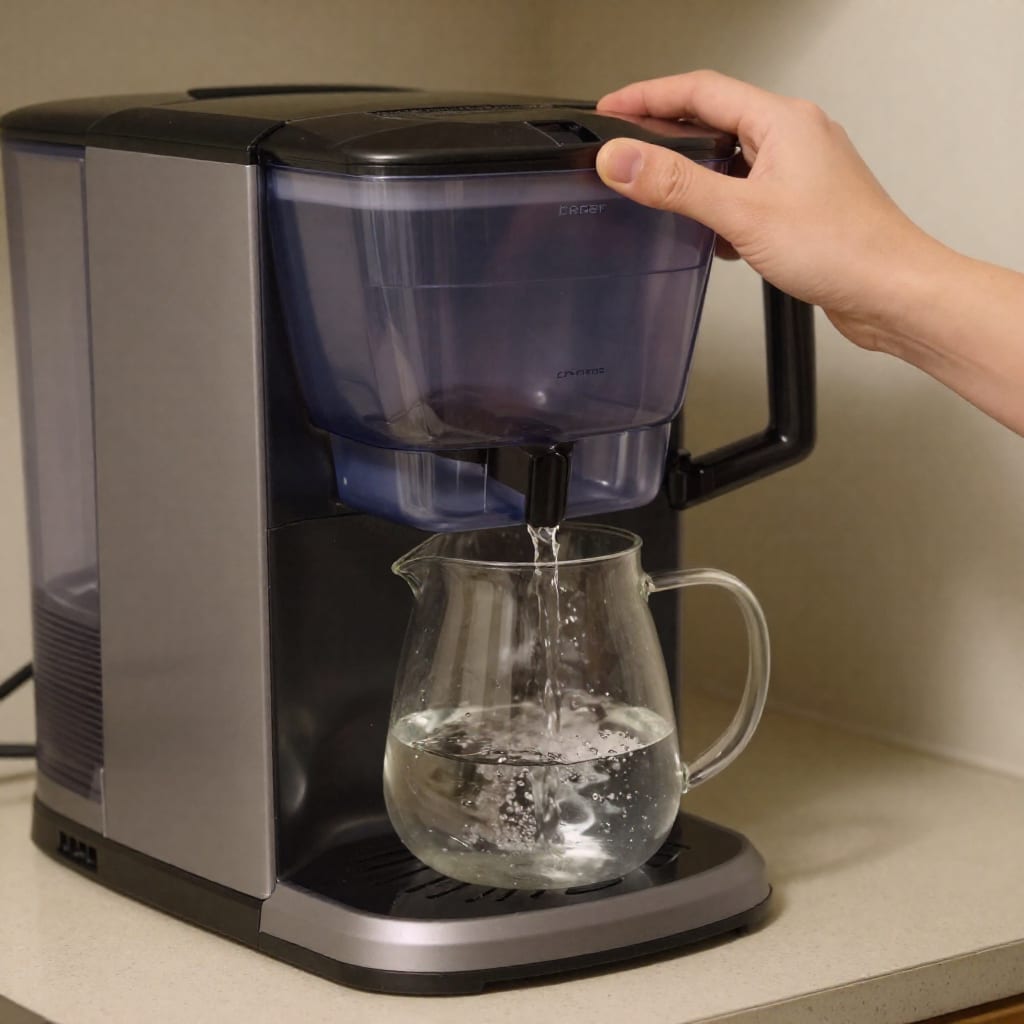
Here’s the detail that tripped me up for a week: I’d set the smart plug, grind the beans, and then the coffee would taste stale or lukewarm. The culprit? Water. Coffee makers heat water from the reservoir, but if you fill it the night before, the water can sit in a cold machine, absorbing odors from the plastic tank. Worse, if your machine doesn’t have a thermal carafe, the brewed coffee cools quickly. My solution: pre-fill the reservoir only just before bed, using filtered water from a pitcher. I also invested in a simple smart water valve (the $30 YoLink model) attached to my kitchen faucet, set to dispense exactly 1.5 liters into a kettle at 5:45 AM. That kettle then pours into the coffee maker’s reservoir via a gravity-fed tube — but that’s overkill for most people. The simpler trick: make a habit of filling the reservoir every evening. I now have a sticky note on my coffee can: “Fill water before bed.” It took three days to form the habit. For freshness, I use a Brita filter stored in the fridge; cold water heats faster than room-temp water, so my brew starts quicker. One unexpected benefit: pre-filling the night before lets the water dechlorinate slightly, which improved the taste. If you have a smart coffee maker with a built-in water tank, you can skip this — just ensure the tank is clean. But for most of us with a basic drip machine, this nightly step is the difference between “okay coffee” and “coffee that makes you want to get out of bed.”
Trick #3: Grind-and-Schedule Sync (Without a Super-Auto Machine)
Fresh-ground coffee beats pre-ground by a mile, but automating the grind is tricky. I don’t own a $1,000 super-automatic machine that grinds and brews on command. Instead, I use a $40 manual burr grinder (the Hario Skerton) and a separate smart plug for my electric kettle. Here’s the routine: I grind the beans the night before, store them in an airtight container, and put them in the coffee maker’s basket. That’s the easy part. But what if you want fresh grinding in the morning? You can automate a grinder if it has a mechanical switch. I tested an old Capresso grinder with a physical on/off switch. I connected it to a second smart plug, set to activate 5 minutes before the coffee maker. The grinder runs for 30 seconds, then the plug turns off. The ground coffee falls into a waiting bin, which I manually dump into the filter. It’s not fully hands-free, but it’s close. The key insight: sync the timing. If the grinder starts too early, the grounds sit and lose aroma. If it starts too late, the water heats before the grinds are ready. I use an Alexa routine: at 6:10 AM, the grinder plug turns on for 45 seconds. At 6:15 AM, the coffee maker plug turns on. That 5-minute gap allows the water to heat while the grinds are fresh. One mistake I made: forgetting to empty the grinder bin. Now I have a backup alarm. For a simpler approach, you can buy pre-ground coffee and skip the grind step — but the flavor difference is noticeable. If you’re serious about taste, invest in a smart grinder like the Baratza Encore with a physical switch, or just grind manually the night before. The trade-off is worth it.
Trick #4: Voice Control That Actually Works at 6 AM
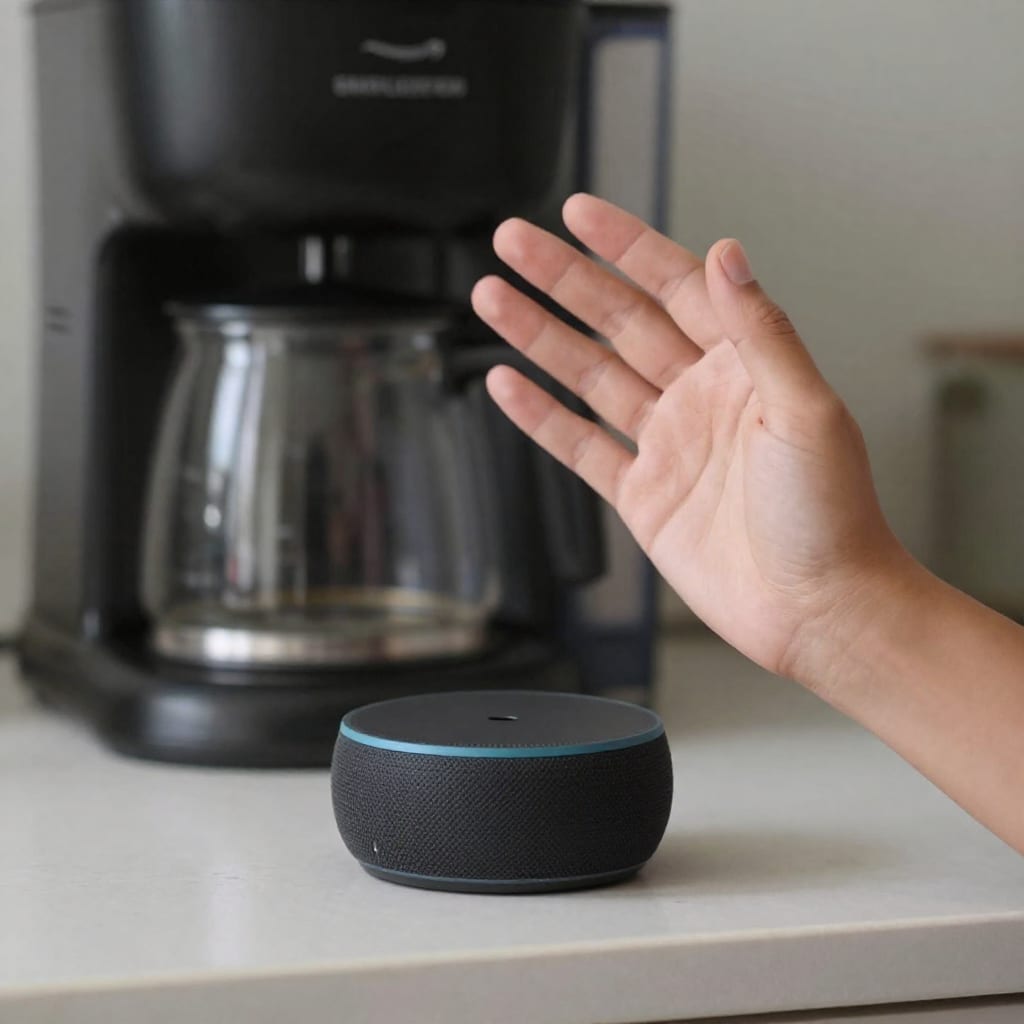
Voice control sounds futuristic, but in practice, it’s finicky. I have an Amazon Echo Dot in the kitchen. The first week, I’d mumble “Alexa, turn on coffee” and get a “Sorry, I didn’t understand” response because my voice was groggy. The fix: create a custom routine with a simple trigger phrase. I set “Alexa, start my brew” to turn on the smart plug for 15 minutes. That works 90% of the time. The remaining 10%? Wi-Fi dropout. My router in the living room sometimes loses connection at night. If the plug can’t reach the cloud, the voice command fails. My workaround: the smart plug stores the last schedule locally, so if I set a daily schedule in the app, it still runs even if Wi-Fi is down. Voice commands only work when the network is live. To minimize failures, I placed a cheap Wi-Fi extender near the kitchen (a $20 TP-Link RE315). That solved 95% of dropouts. Another tip: use conditional triggers. I set an Alexa routine that only activates if the time is between 5 AM and 8 AM. If I say the phrase at noon, it doesn’t brew. This prevents accidental afternoon coffee that would sit and burn. For Google Home users, the process is similar — just create a routine in the Google Home app. One surprising failure: my first smart plug (a no-name brand) didn’t support local scheduling. It required cloud connectivity for every command. I replaced it with a Kasa KP115, which stores schedules on the device. That was the single best upgrade. If you’re buying a smart plug for coffee, check for “local scheduling” in the specs.
Trick #5: The 'Wake-Up Brew' Routine – Layer Schedules for Perfect Timing
Now, the master routine. This combines all the tricks into a single, reliable morning brew. Here’s my exact setup, which I’ve refined over six months:
- 10 PM (night before): Fill the water reservoir with filtered cold water. Place ground coffee in the filter basket (or grind manually and store in an airtight container).
- 5:45 AM: Smart plug #1 (grinder, if used) turns on for 45 seconds. This is optional — I skip it on weekdays and grind the night before.
- 5:50 AM: Smart plug #2 (coffee maker) turns on. The mechanical switch is in the “on” position, so brewing starts immediately.
- 6:05 AM: Smart plug #2 turns off. The coffee is brewed and stays hot in the thermal carafe.
- 6:10 AM: Alexa announces “Coffee is ready” via a routine trigger.
The layered schedule handles edge cases. If I wake up early, I can say “Alexa, start my brew” to override the schedule. If I oversleep, the coffee is waiting. The fail-safe: I keep a manual override switch on the smart plug — a physical button on the Kasa unit itself — so I can brew even if my phone is dead. One thing I learned the hard way: don’t set the coffee maker to run for more than 20 minutes on the smart plug. Most machines have a thermal fuse that can trip if left on dry. I set mine to 15 minutes, which covers a full 12-cup brew. Also, the thermal carafe is essential; a glass carafe with a hot plate will burn the coffee after 30 minutes. I use a Zojirushi thermal carafe that keeps coffee hot for 6 hours. This routine isn’t perfect — sometimes the grinder jams, or the water valve (if used) misaligns. But 9 out of 10 mornings, I wake up to the smell of fresh coffee without lifting a finger. That’s worth the initial setup hassle.
FAQ: What You Need to Know Before Automating
Can I automate a coffee maker that doesn't have a mechanical switch?
Not with a basic smart plug. You need either a machine with a dedicated 'always-on' mode or a smart coffee maker with native app control. Some models have a hidden physical switch inside that can be taped down, but that's a risk — I don’t recommend it unless you’re comfortable with electronics.
Will using a smart plug with my coffee maker damage it?
Generally no, as long as the plug is rated for the coffee maker's wattage (typically 800-1200W). The main risk is with electronic-switch machines that can't remember state after power loss. Use only with mechanical switches. Check your machine’s manual for wattage.
How do I ensure the water stays fresh if I pre-fill the reservoir?
Use filtered water and fill just before bed. Avoid storing overnight if your machine has a metal boiler that can leach flavors. Some smart coffee makers have a night-time cool-down cycle to keep water fresh, but for basic machines, just fill nightly.
Can I use a smart grinder that starts automatically before the coffee maker?
Yes, if the grinder has a mechanical switch (or is smart-native), you can use a second smart plug with a delay. Set the grinder to start 3-5 minutes before the coffee maker via a routine in Alexa or IFTTT. Test the timing once to avoid burnt coffee.
What happens if the Wi-Fi goes down during my scheduled brew?
Most smart plugs store the last schedule locally (on device) so the brew still happens if the schedule was set before the outage. Voice commands and remote changes won't work, but the physical timer on the plug still runs. That’s why I recommend a plug with local scheduling.
Practical Takeaway
Automating your coffee maker doesn’t require expensive gear — just a smart plug, a mechanical-switch machine, and a few nightly habits. Start with Trick #1 (the physical hack) and build up to the full wake-up routine. The biggest lesson I learned: test each step before layering them. My first week was full of cold coffee and failed schedules, but now I have a system that’s been running reliably for months. If you’re tired of morning brew chaos, give these tricks a try. And if you hit a snag, remember — you can always fall back on a manual pour-over. But you won’t want to.